Table of contents
In this practice lab, I am going to learn how to deploy an RDS Multi-AZ architecture. I will then create read replicas and simulate a failover of the RDS instance.
The objective of this practice lab is to help me understand how to make a database architect highly available through the use of read replicas and multi-AZ deployment.
I am therefore going to launch an Amazon Aurora RDS DB instance with multi-AZ enabled. After which I will simulate a database failover from one AZ to another.
NB: AWS Region selected for practice is: US East (N. Virginia) us-east-1
Possible causes of database failover
- Failure of the host server
- Modification of the database instance class
- Rebooting of the database instance
- Failure of an Availability Zone
- RDS maintenance
Task Details
- Sign into the AWS Management Console.
- Launch an EC2 Instance
- Create a Security Group for RDS instance
- Create an Amazon Aurora database with Multi-AZ enabled
- Connecting to the Aurora (MySQL) database on RDS
- Connecting the EC2 Server to RDS
- Execute Database Operations via SSH
- Forcing a Failover to Test Multi-AZ
- Testing the Failover Condition
- Deleting AWS resources
Task 1: Signing in to AWS Management Console
Sign in with your log in details and set the region to US East (N. Virginia) us-east-1
Task 2: Launch an EC2 Instance
Navigate to EC2 on the management console. You can do that by using the search bar and just typing EC2 into it. You can also find EC2 by clicking on services and looking for "Compute" services. EC2 will be found under the list of compute services. You can then click on it.
Click on 'instances' and click on the Launch instance button.
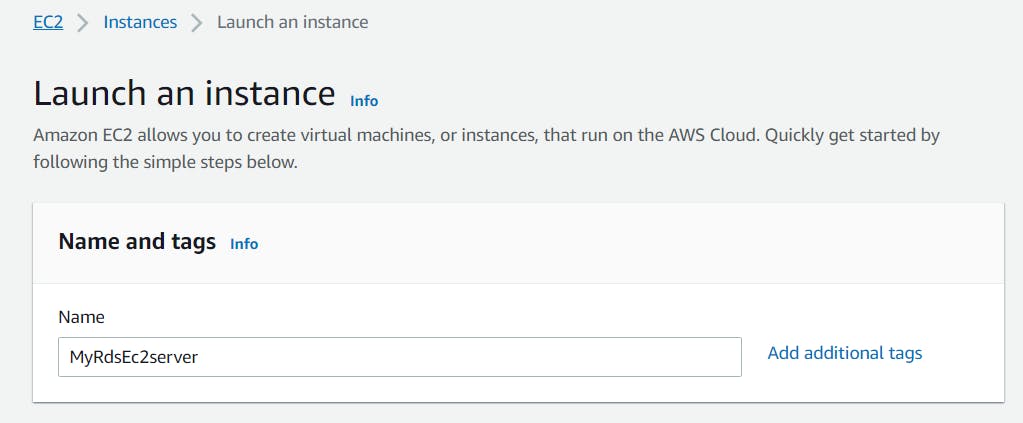
Type
MyRdsEc2serverinto the name input box.
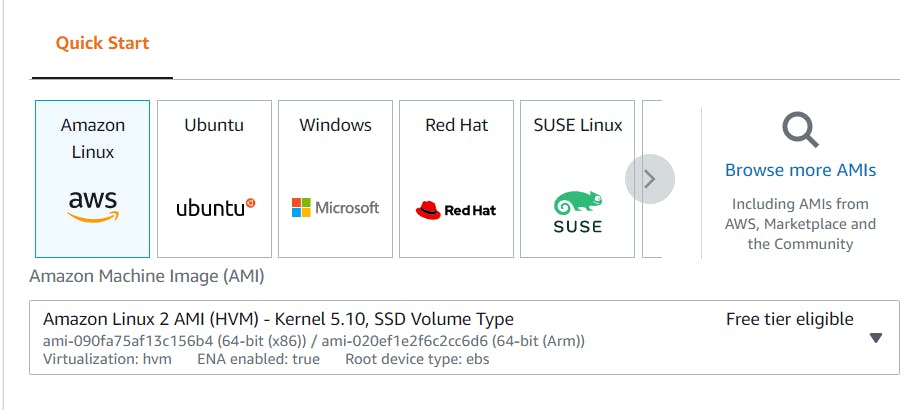
- Choose Amazon Linux 2 as your AMI
- Select t2.micro as your instance type

- Create new key pairs

Details should be as illustrated below. Click the create key pair button once you are done.
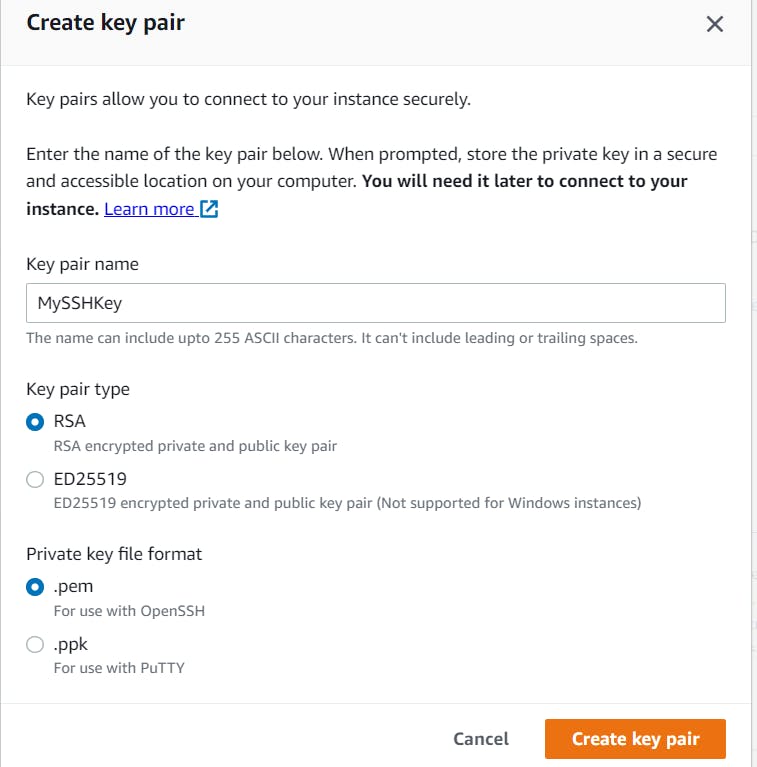
Your key pair will successfully be downloaded once it's done.
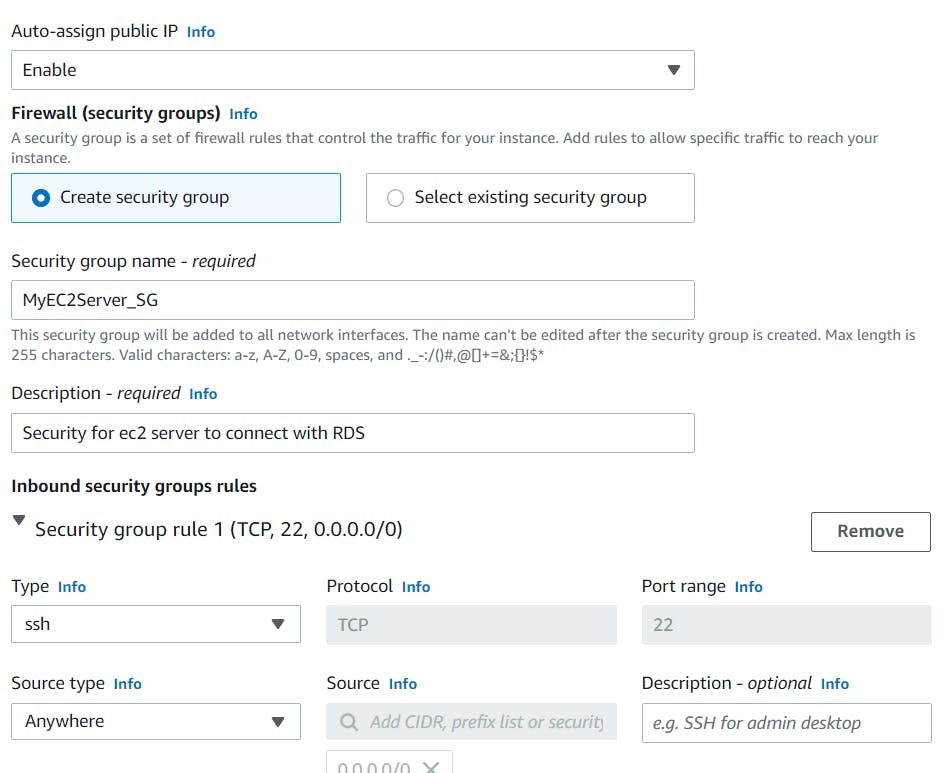
- Under the Network settings, click on edit and make the following changes
- Auto-assign public IP: Enable
- Select Create new Security group
- Security group name : Enter MyEC2Server_SG
- Description : Enter Security for ec2 server to connect with RDS
- Under the Advanced tab, look for user data and paste the code below into it
#!/bin/bash -ex
yum install mysql -y
- Leave all other things as default and click on launch instance. After a successful creation of the instance, you will find an interface like below. Click on the view all instances button to see the instance you just created.
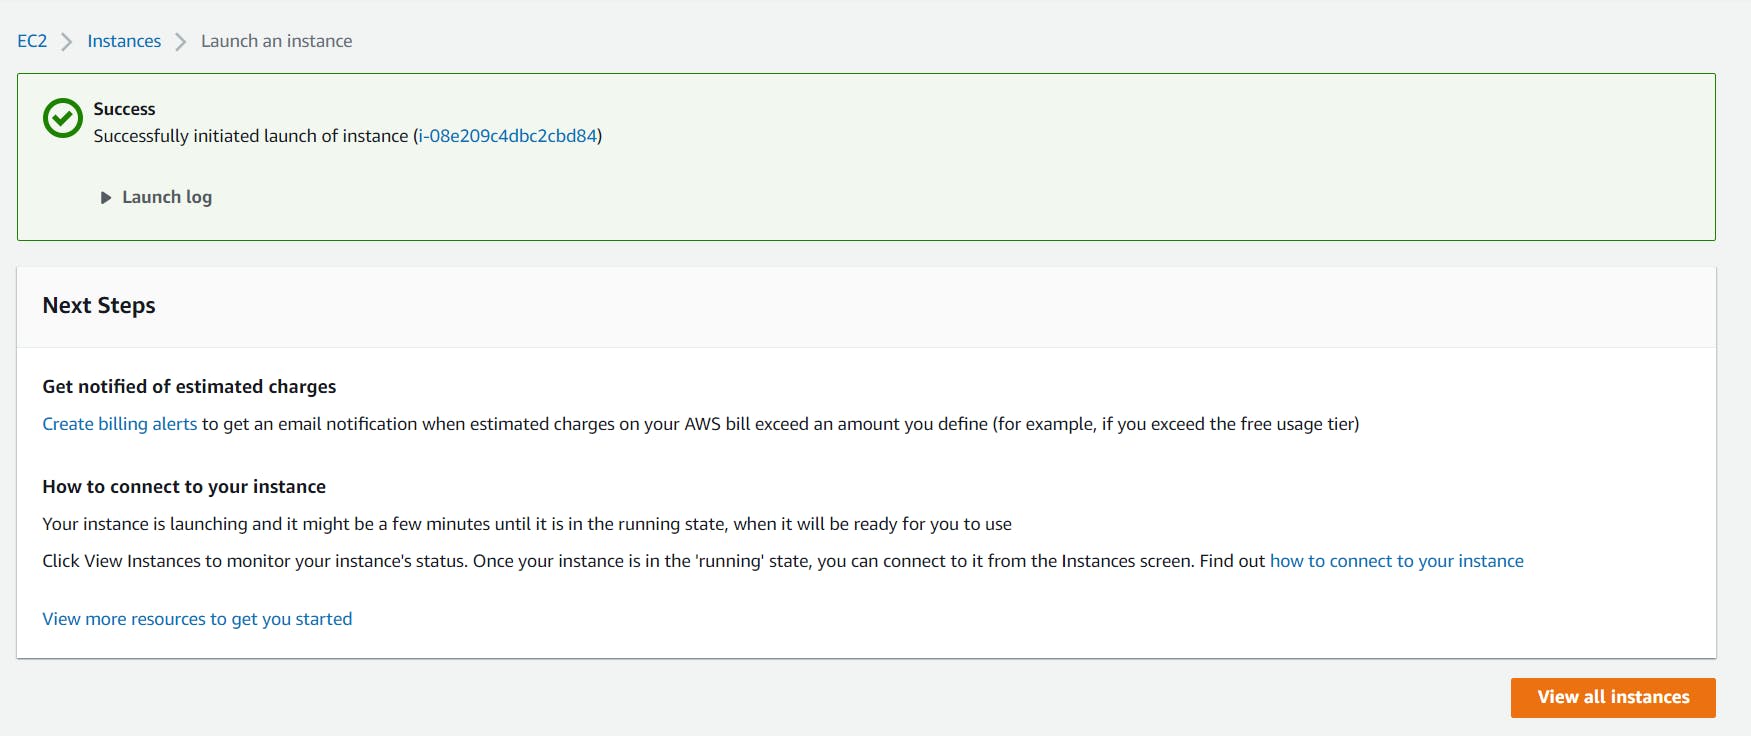
You will then see the instance that you have created, as shown in the image below.

Create a security group for the RDS instance
- Locate EC2 services as described earlier
- On the left side bar, look for Network and Security
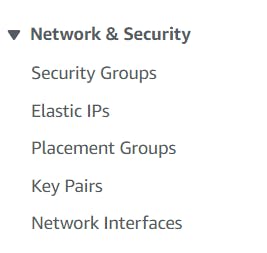
- Click on Security Groups

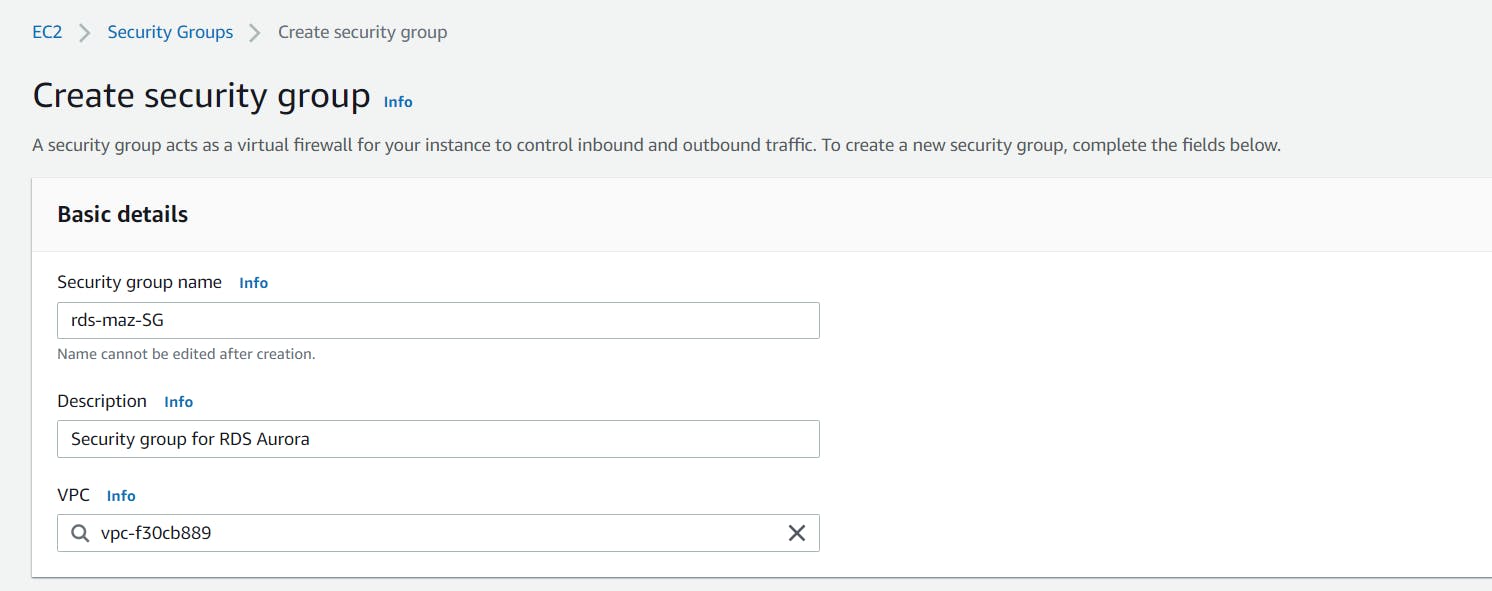
- Click on create security group button and provide details of the security group as below:
- Under inbound rule, click on add rule button

- Choose"MySQL/Aurora" for the type and enter 0.0.0.0/0 into the textbox after source.

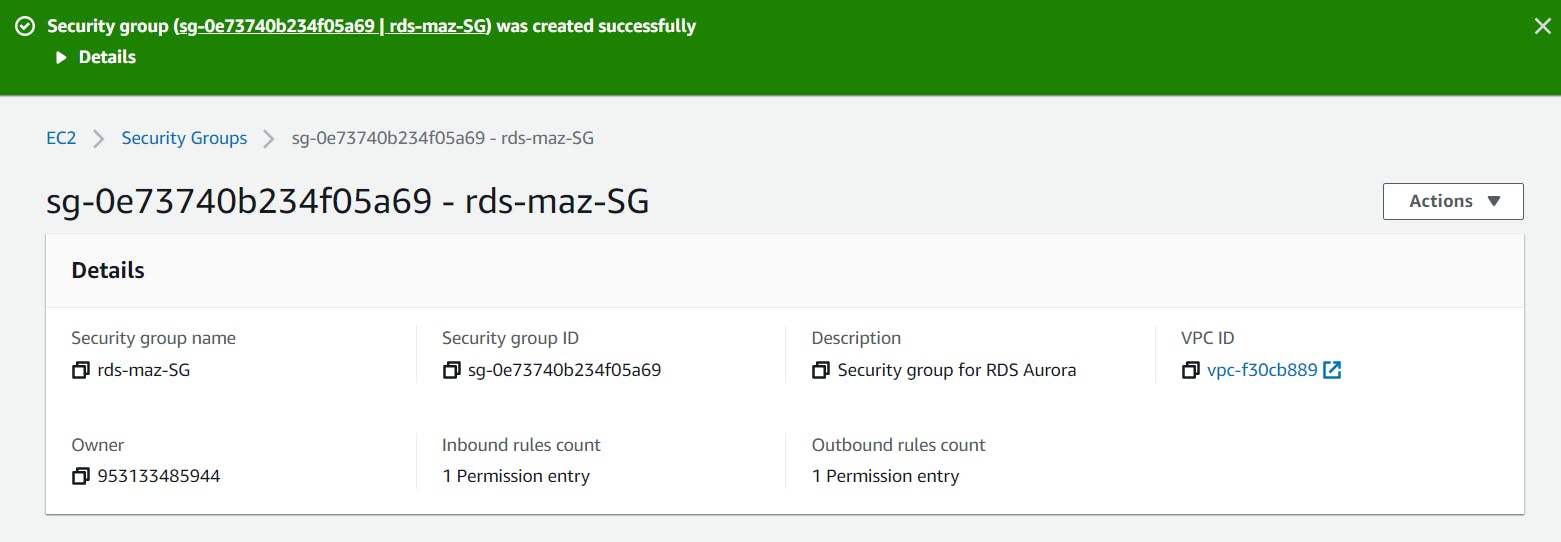
- Leave everything as default and click on the Create security group button
Task 4: Create an Amazon Aurora database with Multi-AZ enabled
- Navigate to RDS under database services or just search for RDS in the search bar
- Click on Databases on the left pane

- Click on create database button. You will be greeted with a screen like below
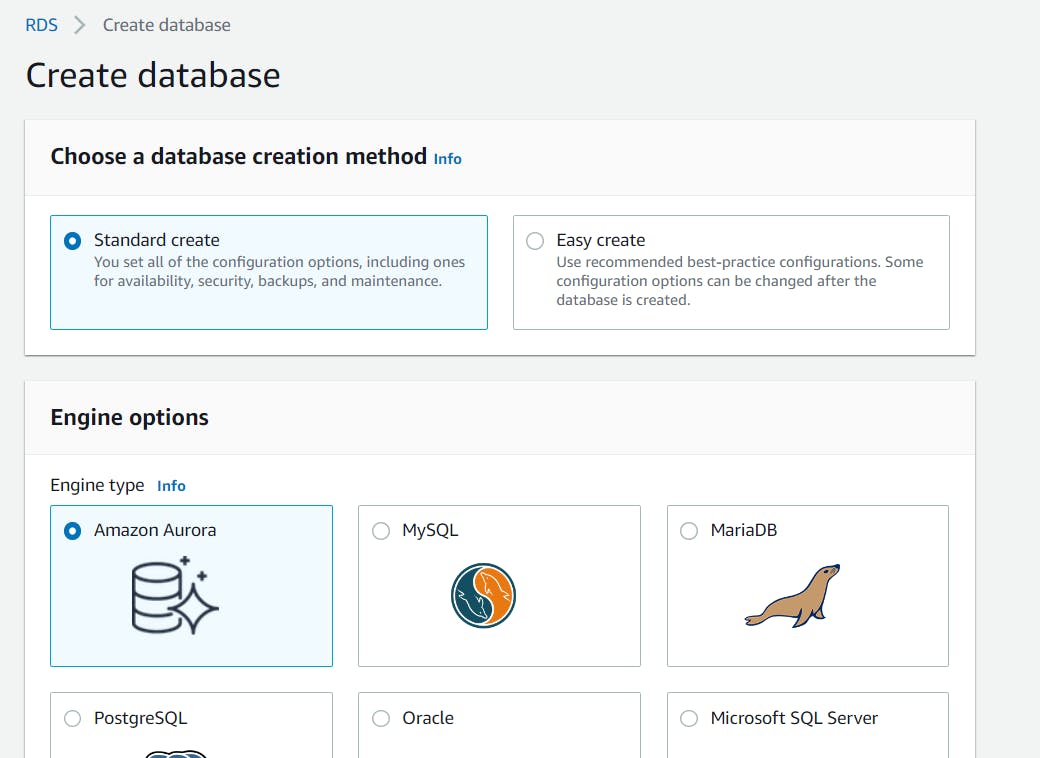
- Select standard create and make the choices as shown in the image below
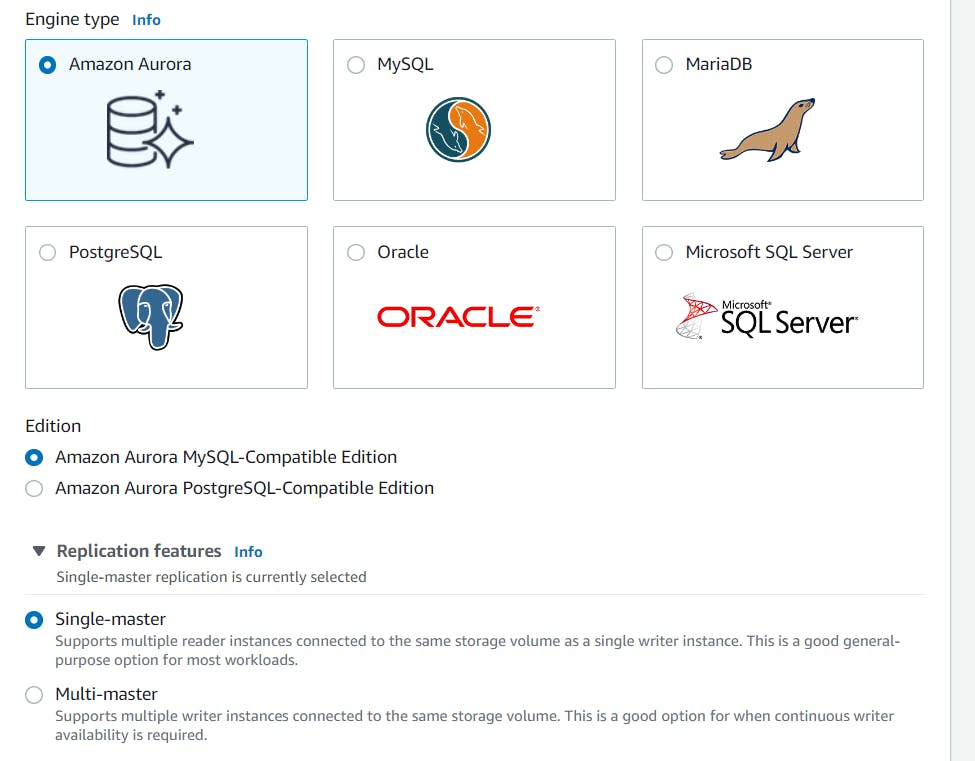
- Select Dev/Test as the template
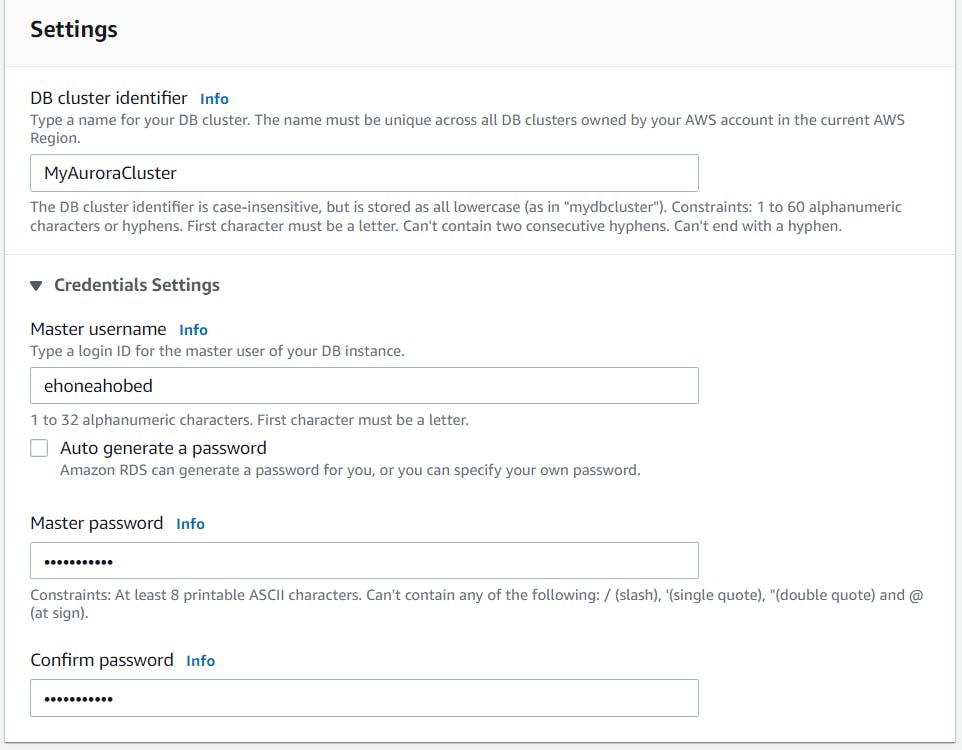
- Go ahead and make the following settings
- Set a name for your DB cluster. In my case, I use **MyAuroraCluster** as the DB cluster identifier
- Master Username: Enter **obedehoneah**
- Master password: Enter **password123**
- Confirm password: Enter **password123**
Note: This is the username and password used to log into your database. Please make note of them.
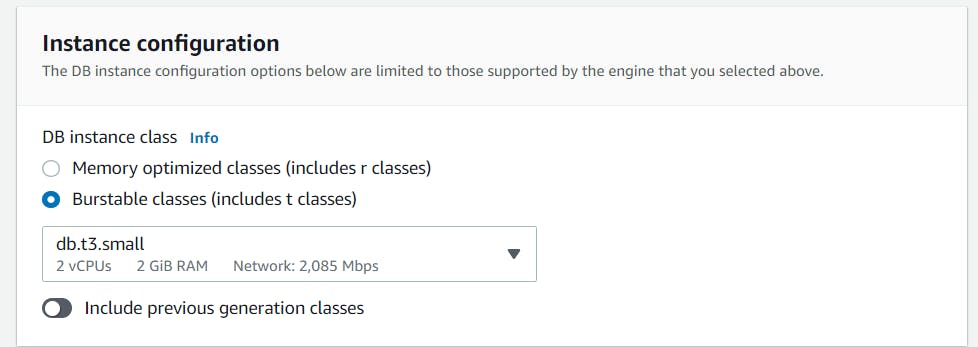
For the DB instance class, choose Burstable classes (includes t classes) and select db.t3.small instance.
For availability and durability, choose Create an Aurora Replica or Reader node in a different AZ

Under connectivity, choose YES for public access
For security group, choose Existing Group then select the security group you created for the RDS instance. Remove the default security group that was created.
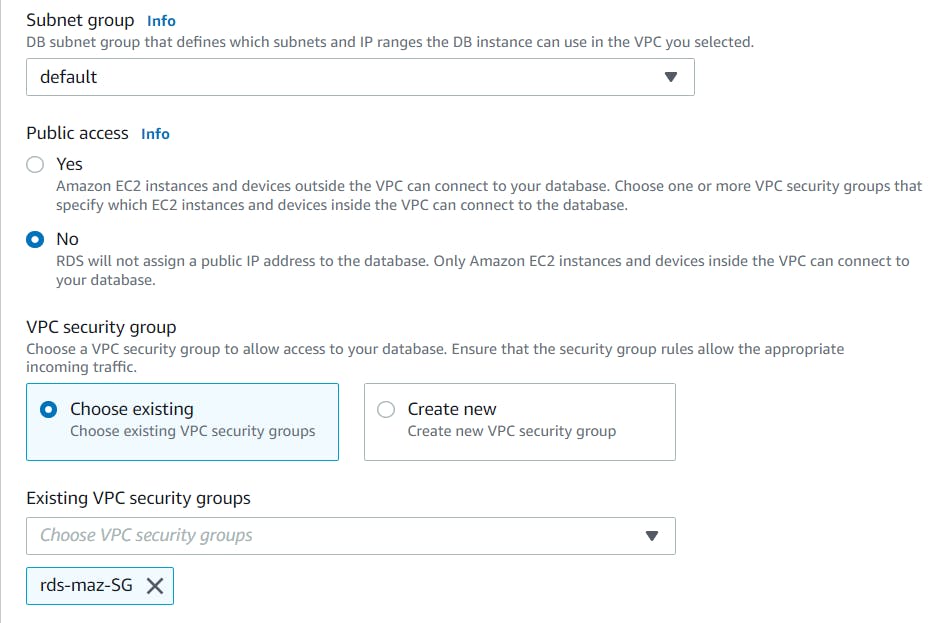
- Under additional information, provide initial database name (eg: mylabrds) and uncheck encryption.
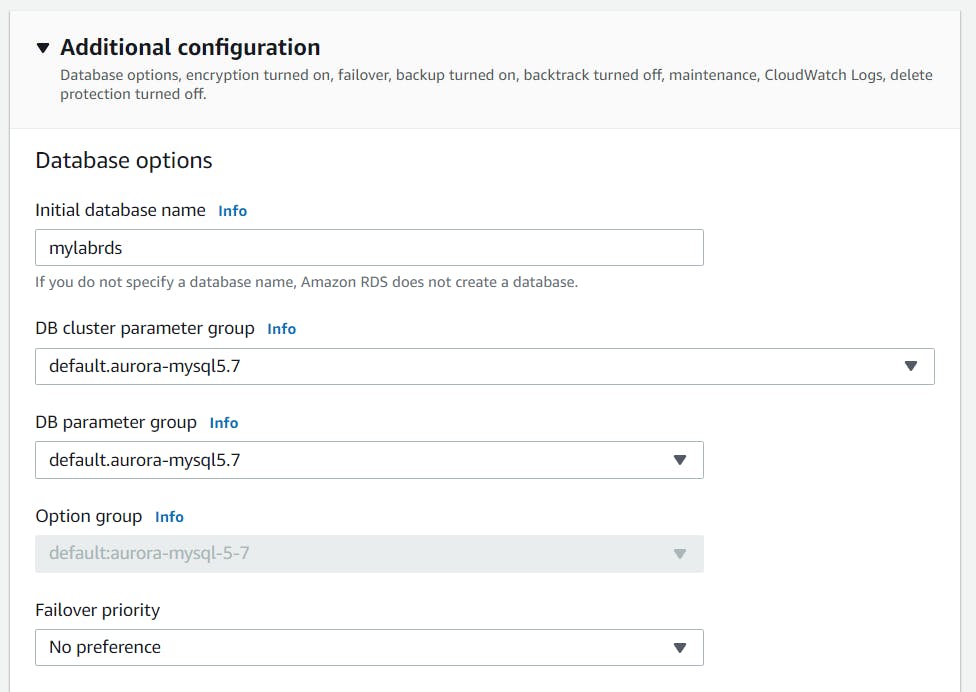
- Leave all other settings as default and click on create database button

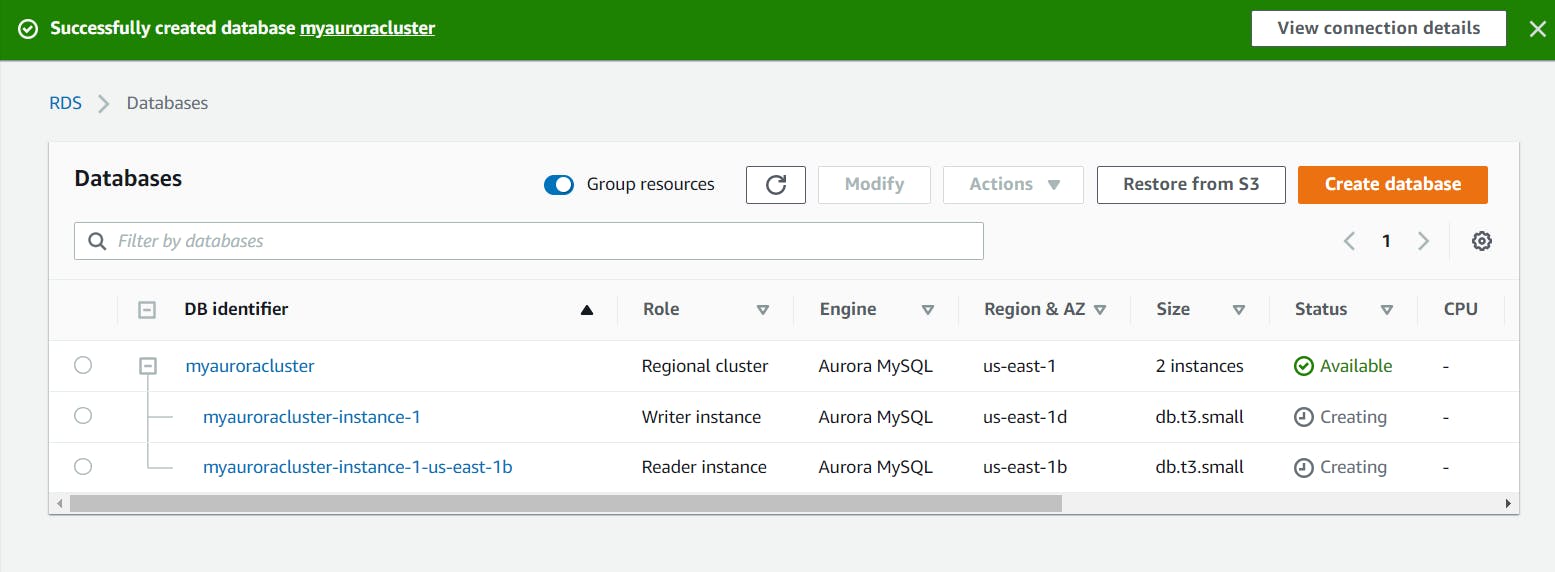
Task 5: Connecting to the Aurora (MySQL) database on RDS
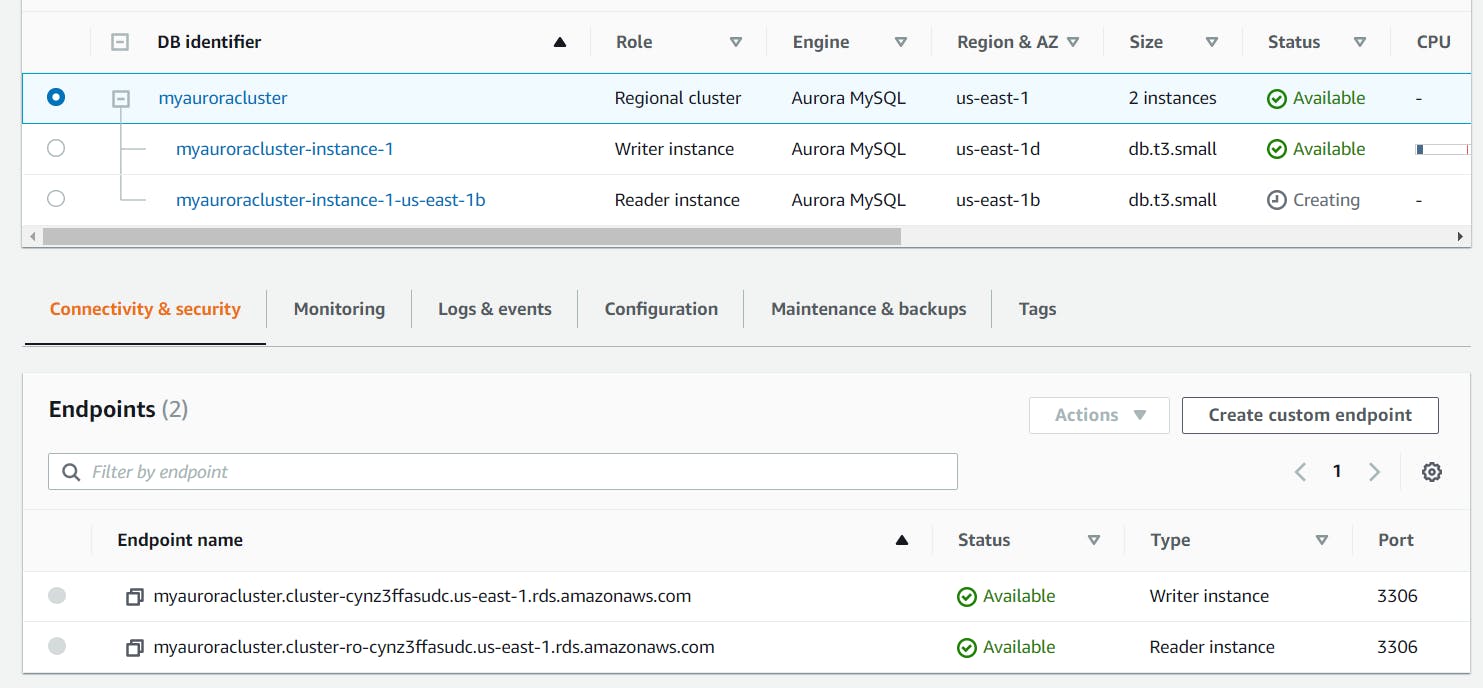
We need to create an endpoint to enable us connect to the Aurora database.
- Click on the RDS cluster name and then navigate to Connectivity & security to find the endpoint of your Master(Writer) and Reader instances, with which you can connect to your DB instance.
To be continued.
